
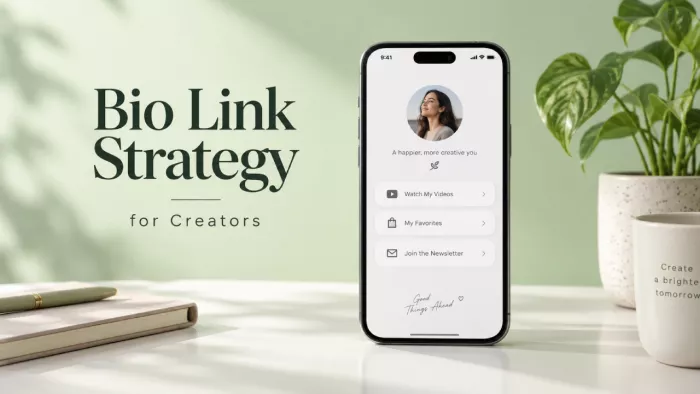
Instagram is a walled garden. Your bio link is the only unlocked door in it which makes how you set it up one of the highest-leverage decisions on your whole profile. You can post, go viral, and rack up saves all day, but the platform gives you exactly one reliable place to send someone out to the wider internet. Everything you make is, whether you plan it or not, traffic pointed at that single spot.
Most creators barely think about it past pasting in a URL. This is a guide to using it properly, not which tool to download, but how to build a setup that turns attention into something real.
The “One Link” Myth Is Dead What Actually Changed
Most bio-link advice you'll read is quietly out of date. It's built on a rule that stopped being true years ago: that Instagram gives you a single link and you have to fight over it.
Since April 2023, you can add up to five external links directly in your bio, reorder them, and give each its own title with no follower requirement, on any account type. The first one shows prominently under your name; the rest tuck behind a small “and others” that expands on tap. (Instagram asks for no follower minimum here, unlike TikTok, which still gates its bio website field behind 1,000 followers.)
This matters more than it sounds. The entire “link in bio” industry grew up to solve the one-link problem, so plenty of creators are still paying for a workaround to a constraint that no longer exists. Before you add a single tool, it's worth asking whether you even need one often you don't, though sometimes you very much do.
Map Your Clickable Real Estate
Before strategy, geography. Instagram only makes links tappable in a couple of specific places, and creators routinely waste effort on spots that don't actually click.
| Channel | Lives where | Best for |
| Bio links (up to 5) | Permanently, under your bio text | Evergreen destinations newsletter, shop, main offer |
| Story link sticker | On one Story, only while it's live (24h) | Time-sensitive pushes a drop, a live, a limited offer |
| Feed & Reel captions | Visible but not clickable | Nothing a URL here just sits there |
The big trap is that third row. Typing a link into a caption feels productive, but Instagram won't make it tappable, so every caption URL is a dead end.
Your two real clickable channels are the bio and the Story sticker, and they do different jobs, one permanent, one disposable. Treat them as a pair, not interchangeable.
Native Links vs a Link-in-Bio Hub: The Real Decision
This is the fork everyone gets stuck on, usually framed as “Instagram vs Linktree.” The honest answer is that they're built for different situations, and the thing that decides it is data.
Native links are free, load instantly, and keep people inside Instagram's tap flow but Instagram gives you zero click analytics on them. You'll never know from Instagram alone how many people tapped, or which post sent them there.
A link-in-bio hub Linktree, Beacons, Stan, Komi and the rest sits behind one URL and adds what native links lack: unlimited destinations, click tracking, email capture, and a branded page. The price is one extra tap and one more thing to keep updated.
| Metric | Native bio links | Link-in-bio hub |
| Cost | Free | Free tier to paid |
| Max links | 5 | Effectively unlimited |
| Click analytics | None | Yes |
| Friction | Lowest (stays in-app) | One extra tap |
| Branding | Instagram's look | Your look |
| Best when | A few evergreen links | You rotate offers, sell, or need data |
Neither wins outright. What actually matters is the destination behind the link and whether you can see what's working which nudges most creators toward a blend rather than a pick.
Build a Hybrid “Bio Stack”
The setup that's quietly become the smart default uses both. You give your top few destinations their own native slots for speed, and hand one slot to a hub for everything else.
That way your most important links get the frictionless, in-app tap, while the long tail lives one layer deeper without cluttering your profile. You also get analytics on the hub link, which is usually where your rotating and experimental stuff goes anyway.
A working bio stack Slot 1 Free newsletter (your priority: an audience you actually own) Slot 2 Current launch or latest drop (time-sensitive) Slot 3 Main shop or booking page Slot 4 “Everything else →” pointing to your hub (older links, press, other platforms) Three sharp native links for what matters now, one hub slot for depth. Swap slot 2 whenever your priority changes. |
Start With the Goal, Not the Links
Here's where most setups go wrong before they even begin. Creators ask “what links should I add?” and answer by listing everything they own. That produces a menu, not a strategy.
The better question is narrower and slightly uncomfortable: if a visitor only does one thing after landing on my profile, what should it be? Usually the highest-value answer is capturing an email or making a sale, not sending them to a homepage to browse around.
Once you've named that one action, the whole setup reorganizes around it. The priority link goes first, anything that competes with it gets demoted or cut, and the profile suddenly has a job instead of a pile of options.
Why Link Order Is a Strategic Decision
Because Instagram shows only your first link prominently and hides the rest, slot one is genuinely valuable real estate not a formality. Whatever sits there gets the most eyes and the most taps by a wide margin.
There's also a hidden tax on adding “just one more” link: every extra option lowers the odds that any single one gets tapped. It's the same paralysis a long restaurant menu creates more choice, less action.
So the instinct to fill all five slots is usually the wrong one. Most creators convert better with two or three pointed links than with a crowded list, because a short list quietly makes the decision for the visitor instead of handing it back to them.
The Landing Experience Where Most Clicks Die
A click is only half a conversion. What loads next decides whether that tap becomes a subscriber or a bounce, and this is the part almost nobody optimizes.
The destination has to keep the promise the link made. If your label says “free preset pack,” the page should open on exactly that, not your general homepage with presets buried three clicks deep. That mismatch is where hard-won clicks quietly leak away.
Two more things matter more than they should: it has to be fast, and it has to be built for a thumb. Your visitor is on a phone, on mobile data, with about a two-second patience window, so a heavy desktop-first page loses them before it renders. One page, one clear action, no detours.
Write Link Titles People Actually Tap
Native links let you title each one, and most people waste that by writing what the link is instead of what it does. “Website” tells me nothing; “Book a free intro call” tells me exactly what happens and why I'd want it.
Good labels are specific, benefit-led, and start with a verb. They read like a small promise, not a filing label.
| Weak label | Stronger label |
| Website | Read my free plant-care guide |
| Shop | Shop the new summer drop |
| Link | Get 20% off your first order |
| YouTube | Watch the full studio tour |
| Newsletter | Join 8,000 readers free, weekly |
The same logic applies to the last line of your bio text, which should point at the link with a reason to tap rather than just announce one exists.
Set Up Your Bio Text to Earn the Tap
Your links don't work in isolation. The few lines of bio text above them do the persuading: they're the pitch, and the links are the button. Most creators fill that space with a list of identities (“Coffee lover. Dog mom. Marketer.”) and waste the one spot that could give someone a reason to tap.
Treat the bio like a tiny landing page. Say who you help and what they get, then end on a line that points straight at your priority link with a benefit attached. “I help new freelancers find clients → free cold-email template below” does more work than any clever tagline.
Don't overlook the name field, the bold text, not your @handle. It's searchable, so putting a keyword there (“Jane Lee | Newsletter for Designers”) helps the right people find you. A found profile is a profile whose link actually gets tapped.
Design the Hub Page, If You Use One
If you do send people to a link-in-bio page, remember that the page is now part of your funnel and a messy one leaks just as badly as a weak bio. A wall of twenty identical grey buttons is its own kind of dead end.
Put your most important destination at the very top, where the thumb lands first, and let importance, not recency, decide the order. Three well-chosen links a visitor actually reads beat fifteen they scroll past.
A few things quietly lift a hub page: thumbnails or icons so links are scannable at a glance, short benefit-led labels (the same rule as native links), and a look that matches your brand so the jump from Instagram doesn't feel like leaving for a stranger's site. Prune it regularly every dead or low-value link makes the good ones harder to find.
Drive Traffic to the Link
Your bio link is passive. It sits there whether anyone notices it or not, so part of the strategy is actively pointing people toward it instead of hoping they wander down to it.
• Use Story link stickers for anything time-sensitive. They're one tap versus the two-step “go to profile, then find the bio,” and they're available to every account now so a launch, a live, or a limited offer belongs on a sticker, not buried in your bio.
• Add a spoken or on-screen CTA to your Reels. The people watching your best-performing video are your warmest traffic; a five-word “the link's in my bio for this” at the end converts far better than silence.
• Pin a post that sells the link. Your top three pinned slots are the first thing a new visitor sees. Use at least one to explain what's behind your link and why it's worth the tap.
• Reference the link by its benefit, not its location. “Grab the free checklist in my bio” gives someone a reason to move; “link in bio” on its own just gives directions.
Bridge Offline to Your Bio with QR Codes
Not all of your audience lives inside the app, and your bio link doesn't have to either. A QR code turns any physical or off-platform surface into a tap-through to your profile or hub page.
This is genuinely useful if you sell in person, speak at events, or ship products a code on your packaging, business card, market stall, or a slide at a talk sends people straight to your links without hunting for your handle. Point it at your hub page rather than a single link, so you can change the destination later without reprinting anything.
Measure What Matters Analytics & UTMs
If you can't see what's working, you're decorating, not strategizing. And since native Instagram links give you no click data at all, measurement is the one place where a tool or a simple workaround earns its keep.
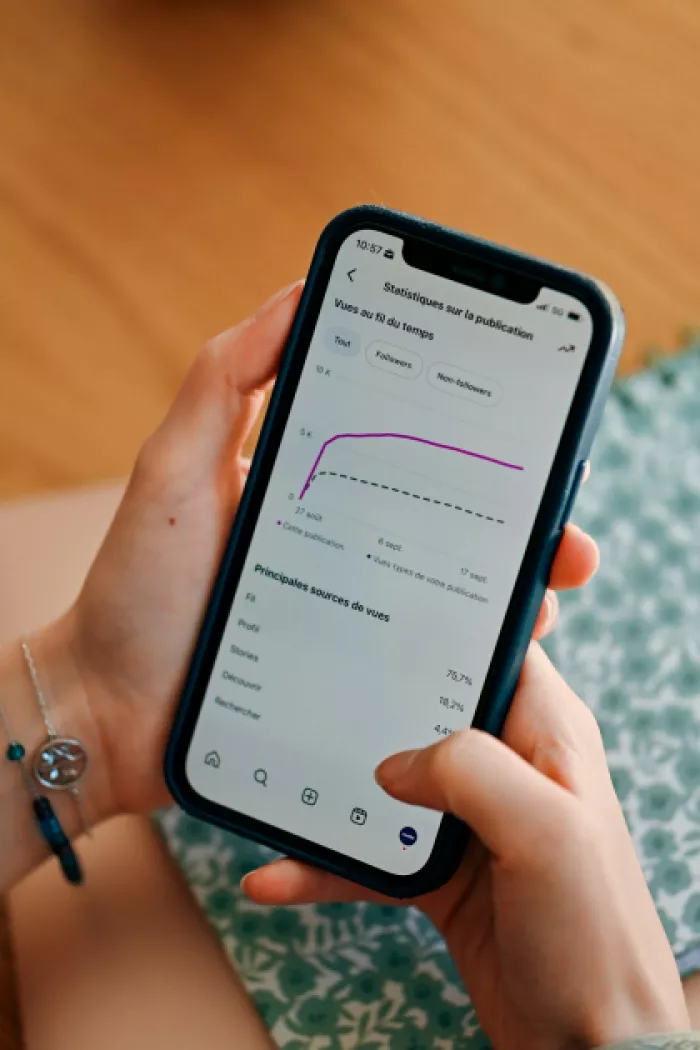
The fix that works even on native links is a UTM parameter: a short tag you add to your URL so your website analytics can tell you where a visitor came from. A link like yoursite.com/guide?utm_source=instagram&utm_medium=bio shows up separately in your analytics, so you can see exactly how much traffic your bio actually drives.
Beyond that, watch two numbers over time: the share of profile visitors who tap any link, and which posts spike your clicks. Together they tell you whether your setup converts and which content is doing the real selling far more useful than raw follower count. A professional account unlocks the Insights you'll need to track profile visits and link taps in the first place. Looking at bio link performance beyond raw clicks can make those numbers more useful, especially when page visits, actual link taps, and downstream conversions are measured together.
Bio Link Mistakes That Quietly Kill Clicks
Most weak bio links aren't broken. They're leaking conversions in ways that never announce themselves, which is exactly why they go unfixed.
• Cramming in all five links because the slots exist. More options usually means fewer taps, not more restraint converts better than completeness here.
• Pointing links at a homepage. A generic landing page makes the visitor hunt for what you promised, and most won't bother you lose them a single click from the finish line.
• Leaving dead or stale links up. An expired launch or a broken URL in slot one is worse than an empty slot; it burns trust and a tap at the same time.
• Writing labels nobody can act on. “Website” and “link” describe the link to you, not the benefit to the person deciding whether to tap it.
• Never updating for what's happening now. A bio still pointing at last season's campaign is a quiet signal that the whole profile is running on autopilot.
• Tracking nothing at all. If you've never once checked whether anyone taps, you're guessing and usually guessing generously in your own favour.
Most bio link mistakes come back to the same problem: too many competing choices and too little direction about which action matters most.
Advanced Plays Rotation, Campaigns & Swaps
Once the basics hold, the real advantage comes from treating your bio link as something that moves, not a setting you configure once and forget.
Rotate slot one around whatever you're pushing this week: a launch, a waitlist, a new video and demote it the moment that moment passes. Tag each campaign with its own UTM so that weeks later you can compare which push actually drove signups versus which just felt busy.
You can also use the five native slots as a tiny funnel: the free thing first, the paid thing second, the “learn more” third. For seasonal creators, a simple swap calendar holiday links in December, back-to-school in August keeps the profile current without any redesign.
Choosing Your Tool Without Overthinking It
The tool question is the last one to answer, not the first and for plenty of creators the answer is “none yet.” If you have a handful of stable links and don't need data, Instagram's native five will carry you for free.
Reach for a hub the moment you need something native links can't give you: more than five destinations, real click analytics, email capture, or a branded page that matches your work. That specific missing capability is the trigger, not a vague sense that serious creators are supposed to use Linktree.
As a rough match: if you're just starting or link-light, stay native. If you sell products, pick a commerce-friendly hub. If you live and die by your newsletter, choose whatever captures emails most cleanly. And if you're juggling many platforms and offers at once, a full hub with analytics will pay for itself.
Your First 10 Minutes: A Setup Checklist
If you do nothing else, this is the order that gets you a working setup fast. It's deliberately short you can refine later.
• Switch to a professional account (Creator or Business) if you haven't; it unlocks Insights and the tracking tools you'll want.
• Decide the one action you most want a visitor to take, and make that your first link.
• Add two or three more native links, ordered by priority, and title each with a benefit rather than a noun.
• If you have more than five destinations or want data, point one slot at a link-in-bio hub and tidy that page.
• Add UTM tags to your link URLs so your site analytics can see what Instagram sends.
• Rewrite your last bio line to point at your top link with a reason to tap.
Treat the Link as a Funnel, Not a Filing Cabinet
Strip away the tools and tactics and the whole thing comes down to one shift in how you see that little URL. It isn't a place to store every link you own, it's the single point where all your attention either turns into something real or evaporates.
Give it one clear goal, a short and deliberate stack, a destination that keeps its promise, and enough tracking to know what's working.
Do that, and your bio link stops being an afterthought you set once and quietly becomes the most productive spot on your entire profile.


Comments